UPDATED – STEP BY STEP ASSEMBLY INSTRUCTIONS – REASEARCHED PRACTICES
⚡Prepare yourself a wet towel, piece of fabric, or sponge to moist your fingers on (plus you can use some hand cream for your palms before you start). Use a powerful source of light that will help you see all the layers;
⚡Unpack the pom pom and unwind the white ribbon. FIND THE MIDDLE (important) of the pom pom by folding it in two parts;
⚡Tie the middle of the flat pom pom as you can see in the photos: USE YOUR KNEES TO HOLD THE POM POM WHEN TYING IT;
⚡Fan the 2 sides of the flat pom pom. Press them a little bit with your palms;
⚡(Action) – Start separating the layers, one by one. USE A HARD SURFACE (TABLE, FLOOR) AS A SUPPORT TO HOLD THE BOTTOM WHEN YOU PULL LAYERS.

⚡For the first 2 go as high as you can. As you go along do not pull that high. Go lower and lower as it feels natural to you. This is for water lily look.
Check the UPDATED Step by Step Assembly Instructions below;
⚡If you want a sphere look, just twitch the bottom layers.

After fluffing a few pom poms you will get more creative and you will find your own comfortable way of getting them done.
When they are ready you can hang them from the curtain, above the table, on the wall, in a vase, behind the chair. Or outside, under the veranda or in the garden from the tree branches.
Here are the steps in a synthesized way.

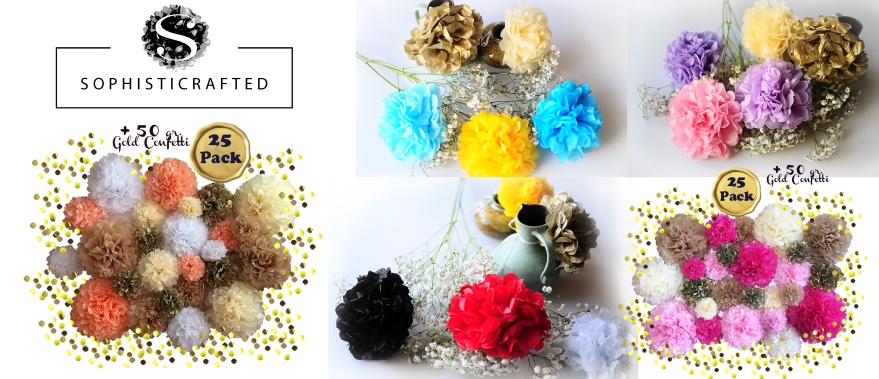
You can choose from 5 LARGE TISSUE PAPER FLOWERS SETS (each has 25 pieces with 5 sizes and 5 colors).
Which one do you prefer?
Learn more about these 5 tissue paper pom pom variations on Amazon Sophisticrafted:
https://www.amazon.com/Sophisticrafted-Tissue-Paper-Pom-Flowers/dp/B07FMMXXYQ?th=1

